2020-11-28
Rendering smol images with chonky pixels
Look at this lil fella:

If you've ever rendered a jpeg on the internet you've probably seen something like this:

It's blurry because the browser is interpolating the missing pixels, smearing the few pixels over the screen. This works fine for large images or small differences in size, but what if I actually want to see those chunky pixels.
What I actually want it to look like is this:
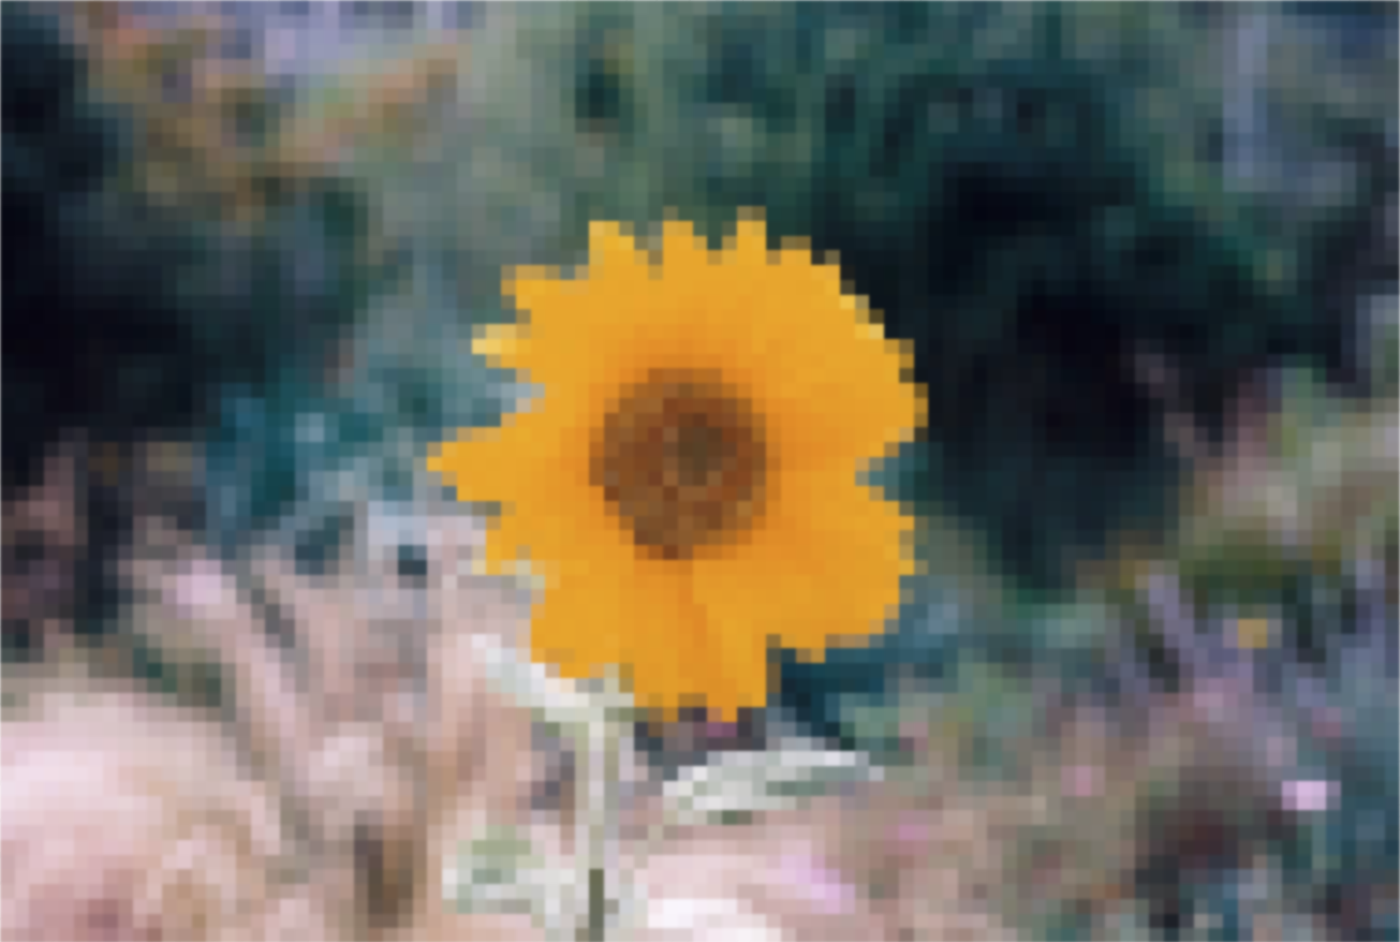
Browsers are making this possible with a new CSS rule:
image-rendering: pixelated;
The browser support for this is pretty good, but not universal. You can check it out on Can I Use.
How it works
img {
  image-rendering: pixelated;
}

// Wow that was easy.
Not so fast!
What about those poor browsers that don't support it yet? We can't just let them have gross stretched out blurry pixels. They want crisp blocks too. Nay, they need them.
How about some JavaScript? Sure. Turns out browsers have added a neat little API to detect whether a browser supports some CSS.
let supportsPixelated = CSS && CSS.supports && CSS.supports("image-rendering", "pixelated");
What we're saying here is if the CSS object exists and if the CSS object
has a supports function on it, we can call it with the CSS property and value
we want to use. If any of this returns false it's safe to say that the browser
does not support it. If it's true then it does. So now we know if the browser
supports image-rendering: pixelated we can leave it alone if it does and do
something about it if it doesn't.
Turns out the next part is also pretty easy.
let img = document.querySelector("img");
let canvas = document.createElement("CANVAS");
canvas.width = img.width;
canvas.height = img.height;
img.parentNode.insertBefore(canvas, img.nextSibling);
let ctx = canvas.getContext("2d");
ctx.imageSmoothingEnabled = false;
ctx.drawImage(img, 0, 0, img.width, img.height);
img.parentElement.removeChild(img);
Okay so that was like nine lines of code in a row so let's go through it one at a time and figure out what we're doing together.
let img = document.querySelector("img")- This gets a reference to the image node in our document and puts it in our variable `img`.
let canvas = document.createElement("CANVAS")- This creates a new <canvas />
element and puts it in our variable
canvas. canvas.width = img.width
canvas.height = img.height- This sets the width and the height of the canvas element to the same as the original image element.
img.parentNode.insertBefore(canvas, img.nextSibling)- Take our created canvas element and insert it into the DOM right after the <img />. Note that this might only work if there is an element after the image.
let ctx = canvas.getContext("2d")- This is how we get access to the programmable part of the canvas. We're choosing the "2d" mode since we're just rendering a 2D image.
ctx.imageSmoothingEnabled = false- This is where the magic happens. We're telling the canvas to disable it's built in image smoothing, which is the thing that blurs our images by default.
ctx.drawImage(img, 0, 0, img.width, img.height)- We call the `drawImage` method on the 2D canvas context with out the reference to our image. `0, 0` refers to us starting drawing the image from the top left corner of the canvas: coordinates 0 0. The next two parameters are number of pixels we're drawing the image over, which is just the size of the canvas & image since they are all the same.
img.parentElement.removeChild(img)- Now we've drawn the canvas we can remove the image element from the DOM so we don't have a duplicate.
And that's it. We replace the <img /> with a <canvas /> containing the same image.
And here's how it looks:
This isn't totally finished. We deleted the image tag without carrying over any
of the accessibilty like the alt attribute. That's okay if it's purely
decorative, but otherwise you gotta do it. Promise?
Cool! Have a happy Thursday!